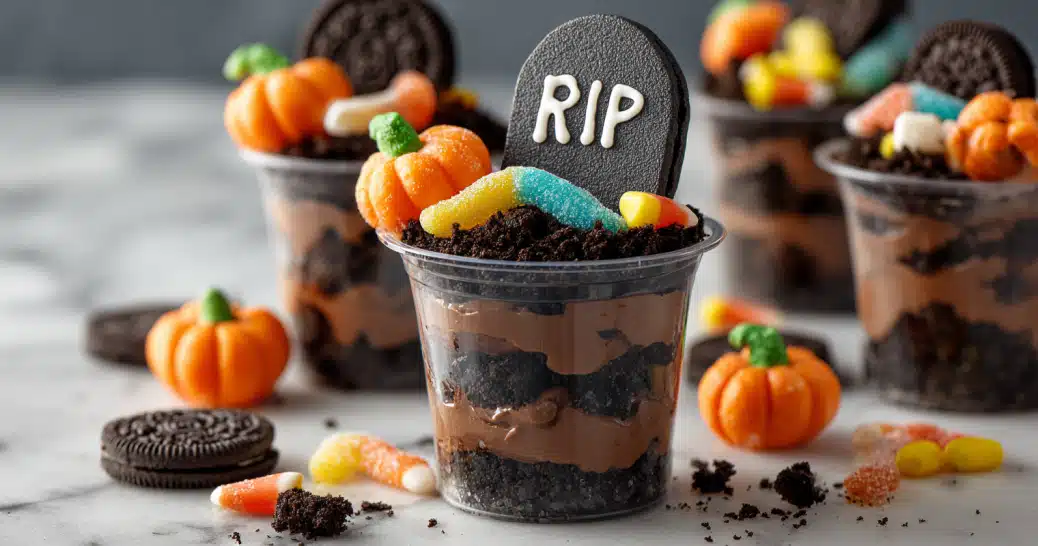
Halloween is the perfect time to get creative in the kitchen, and nothing brings more smiles than spooky desserts kids can actually help make. Halloween dirt cups are a no bake treat layered with creamy pudding, whipped topping, and crushed cookies, then decorated with gummy worms, candy pumpkins, or even tombstone cookies. These little cups are simple enough for beginners yet festive enough to stand out at any Halloween party. If you are looking for a kid approved dessert that is quick to assemble and guaranteed to disappear fast, this recipe will be your new go to.
Table of Contents
Why Halloween Dirt Cups are the Perfect Party Treat
Fun and spooky dessert idea kids love
Halloween dirt cups are more than just a sweet bite, they are an experience. Kids love the creepy fun of digging through cookie “dirt” to find gummy worms hiding underneath. The combination of chocolate pudding and crushed Oreos makes a dessert that feels playful and exciting while still tasting indulgent. Unlike complicated holiday cakes, these pudding cups let children get hands on by layering ingredients or decorating the tops with candy, which makes them a family activity as much as a dessert.
Why dirt cups are easy for Halloween parties
When planning a Halloween party, time and stress can build up quickly. That is where Halloween dirt cups save the day. They require no baking, can be made ahead of time, and use only a handful of ingredients most people already have in the pantry. By assembling them in clear plastic cups, you get a festive look without needing fancy serving dishes. Since the portions are individual, they also cut down on mess at gatherings. Whether you are hosting a large school party or just a small family night, dirt cups give you a quick, reliable option that looks as impressive as it tastes.
Print
The Best Halloween Dirt Cups – Quick, Spooky, And Kid Approved
- Total Time: 40 minutes
- Yield: 12 servings 1x
- Diet: Vegetarian
Description
These Halloween Dirt Cups are layered with chocolate pudding, crushed Oreos, and topped with creepy candies for the ultimate no-bake Halloween dessert.
Ingredients
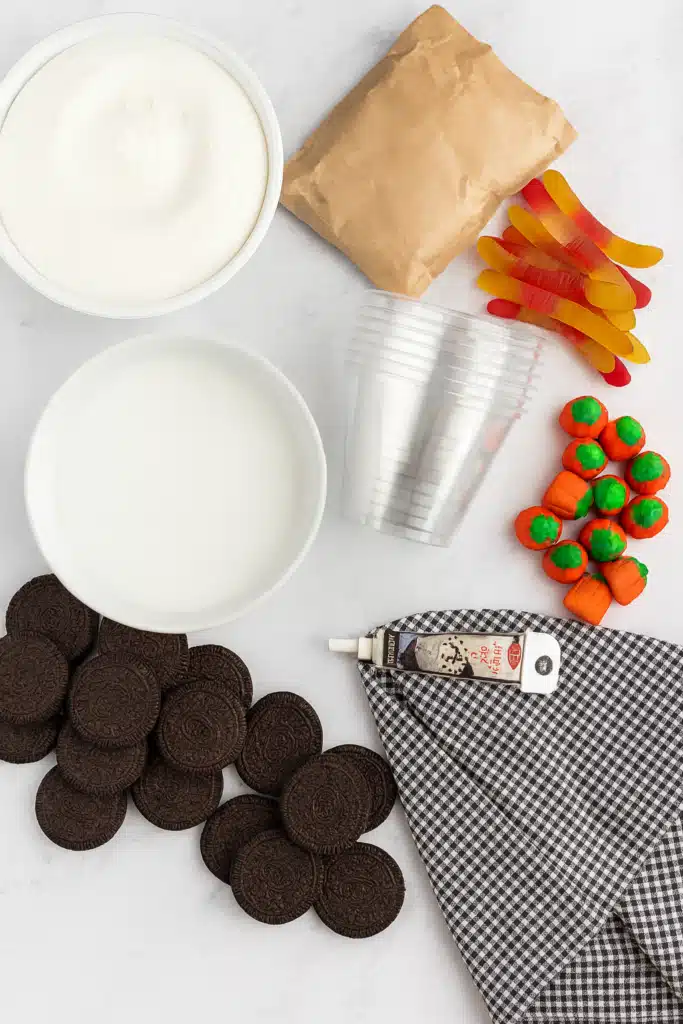
12 Oreo Cookies
16 oz Cool Whip
1 box Instant Chocolate Pudding Mix (3.3 oz)
2 cups Milk
8 Milano Cookies
Gummy Worms and Candy Pumpkins (optional)
Wilton Black Writing Icing
Instructions
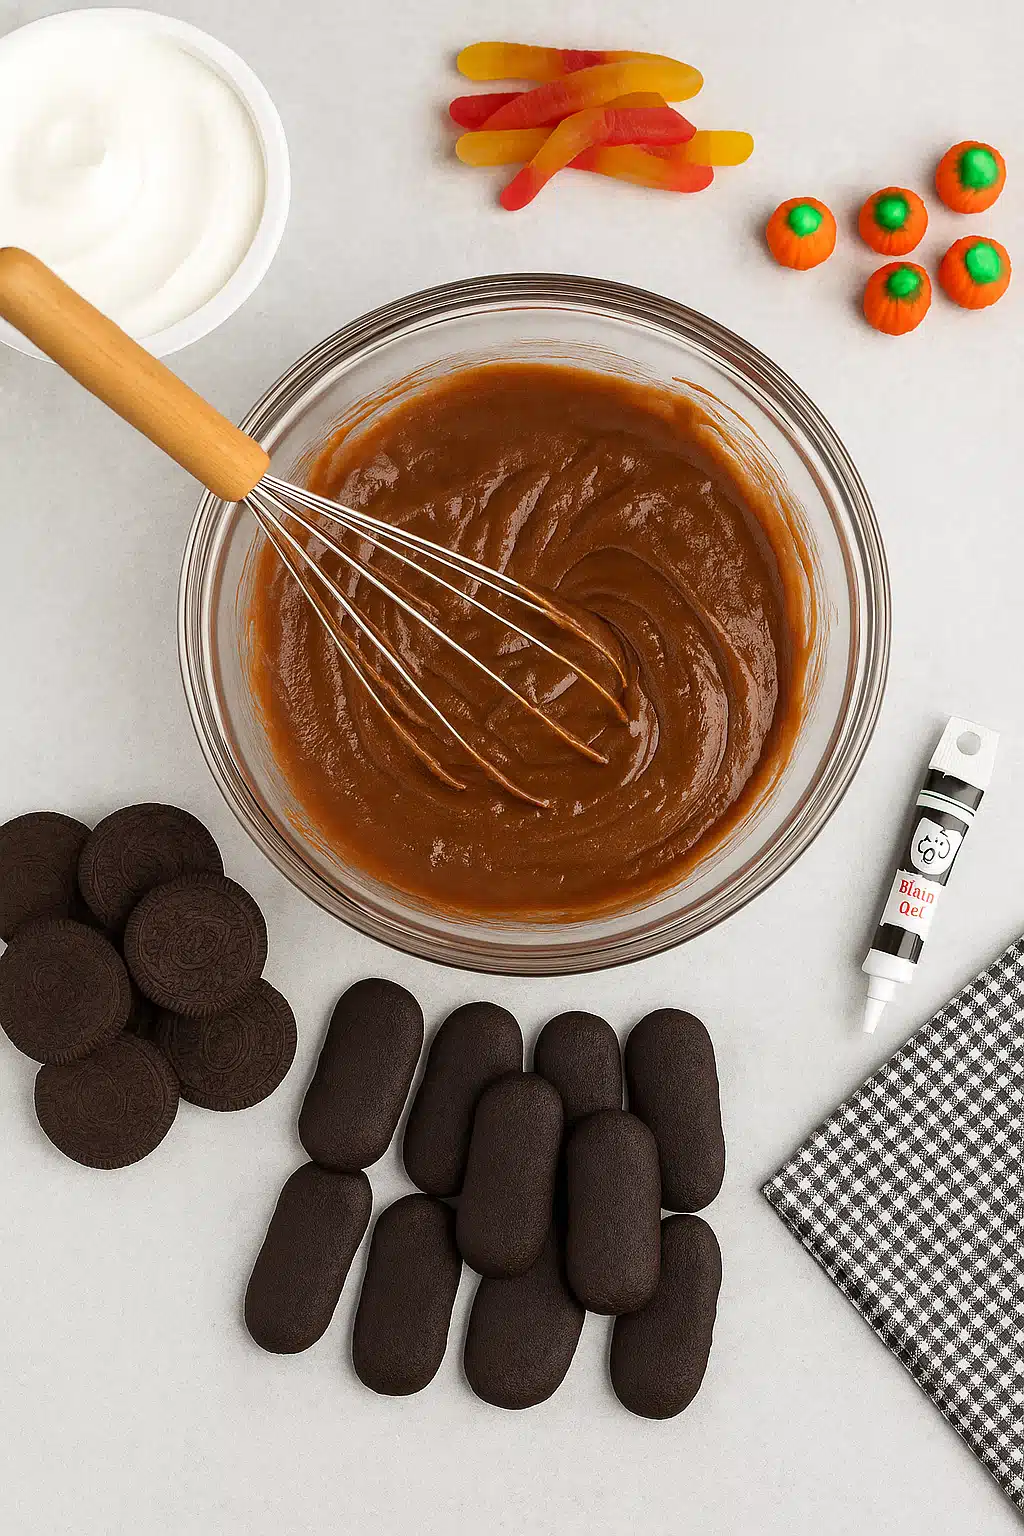
1. Whisk together the pudding mix and milk in a bowl. Refrigerate for 10 minutes.
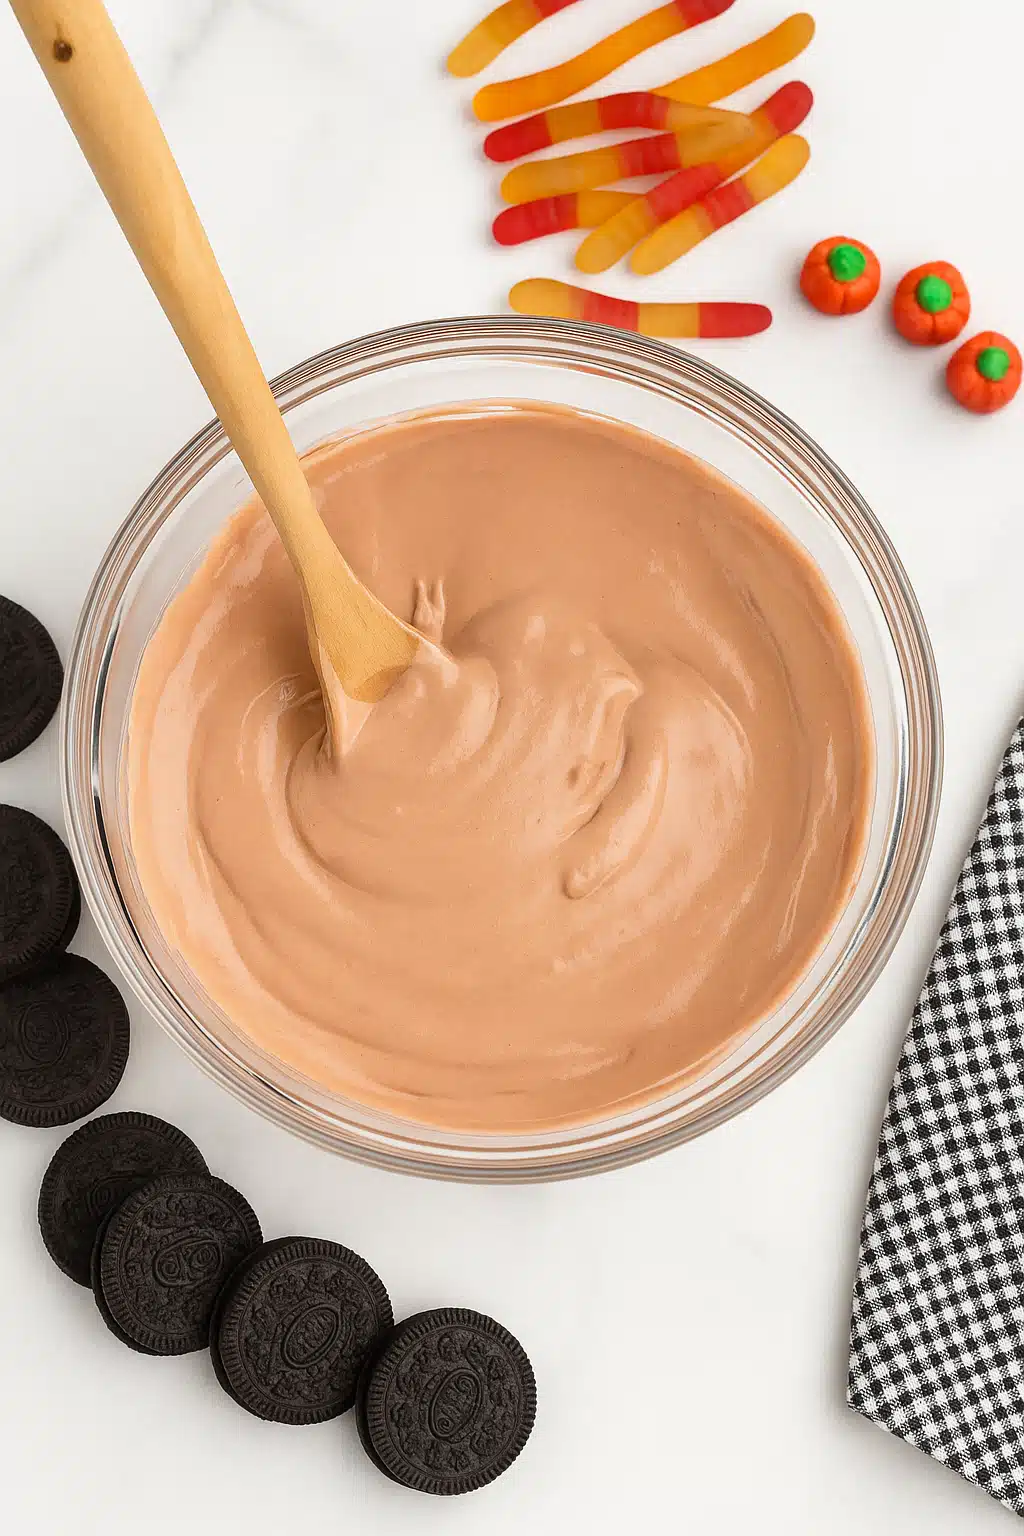
2. Fold in the Cool Whip until fully mixed. Chill another 20 minutes.
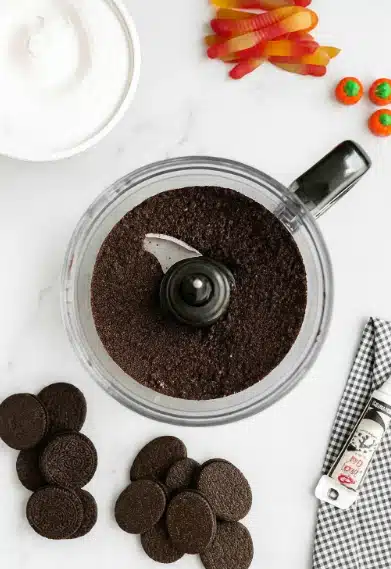
3. Crush the Oreos into fine crumbs using a food processor or ziplock bag method.
4. Layer pudding and cookie crumbs in clear plastic cups, alternating until full.
5. Write “RIP” on each Milano cookie using black writing icing.
6. Insert cookies upright in each cup like tombstones.
7. Top with gummy worms and candy pumpkins just before serving.
Notes
Cover and refrigerate up to 5 days.
Add decorations just before serving to avoid sogginess.
Use flavored Oreos or colored pudding for variations.
- Prep Time: 40 minutes
- Cook Time: 0 minutes
- Category: Dessert
- Method: No-Bake
- Cuisine: American
Nutrition
- Serving Size: 1 cup
- Calories: 200
- Sugar: 19g
- Sodium: 246mg
- Fat: 6g
- Saturated Fat: 3g
- Unsaturated Fat: 2g
- Trans Fat: 1g
- Carbohydrates: 33g
- Fiber: 1g
- Protein: 4g
- Cholesterol: 26mg
Key Ingredients for Halloween Dirt Cups
Core ingredients for classic dirt cups
To make Halloween dirt cups, you only need a few simple staples that blend together into layers of flavor and texture. The base starts with instant chocolate pudding mix, which creates a creamy chocolate layer in minutes when combined with cold milk. Cool Whip is then folded in to give the pudding a lighter and fluffier texture that balances the richness. Crushed Oreo cookies provide the “dirt,” giving every bite a sweet crunch that contrasts perfectly with the pudding. These three components create the classic foundation for any dirt cup recipe.
Best Halloween-themed toppings and decorations
What makes dirt cups perfect for Halloween are the festive toppings. Gummy worms are the most popular choice because they bring a playful creepy-crawly effect that children adore. Candy pumpkins add a seasonal pop of color, making the cups look like a little pumpkin patch in edible soil. Milano cookies are another fun addition because you can write “RIP” on them with black writing icing to create mini tombstones. For extra flair, sprinkle orange and black sprinkles on top or tuck in a few candy corn pieces. These small details turn a simple dessert into a centerpiece that fits any spooky celebration.
Variations and Creative Additions
Adding sprinkles, candy corn, and gummy worms
One of the best parts about Halloween dirt cups is how customizable they are. While gummy worms and candy pumpkins are the classic go-to toppings, you can easily switch things up. A handful of festive Halloween sprinkles in orange, black, or purple gives the cups extra color and sparkle. Candy corn is another seasonal favorite that works well when pressed gently into the cookie crumb topping for a crunchy and sweet finish. You can even add different gummy creatures like spiders or eyeballs for an extra spooky effect that will thrill the kids.
Alternative cookie and pudding choices
Although Oreos and chocolate pudding are the traditional base, there is plenty of room for creativity. Try vanilla pudding layered with golden sandwich cookies for a lighter take on the recipe. Peanut butter or butterscotch pudding adds a richer, nutty twist that pairs well with chocolate cookies. If you prefer a seasonal flavor, pumpkin spice pudding layered with chocolate crumbs makes a fall-inspired version. For cookies, Milano is often used for tombstones, but graham crackers or ladyfingers can work too. Mixing and matching flavors not only keeps things fun but also lets you tailor the recipe to your family’s tastes or dietary preferences.
Step by Step Guide to Make Halloween Dirt Cups
Preparing the pudding and whipped topping
Start by whisking together the instant chocolate pudding mix with cold milk in a medium bowl. Stir until the mixture is smooth and begins to thicken, then place it in the refrigerator for about 10 minutes to set. Once chilled, gently fold in the Cool Whip until fully blended. This step lightens the pudding and creates a creamy, mousse-like texture. Let the mixture rest in the fridge for another 20 minutes while you prepare the cookie crumbs.
Assembling the spooky layers
Next, crush your Oreo cookies into fine crumbs. The easiest way is with a food processor, but if you don’t have one, place the cookies in a zip-top bag and crush them with a rolling pin or the back of a wooden spoon. Now it is time to assemble. Begin by spooning a layer of pudding mixture into the bottom of a clear plastic cup. Add a layer of crushed cookies on top.
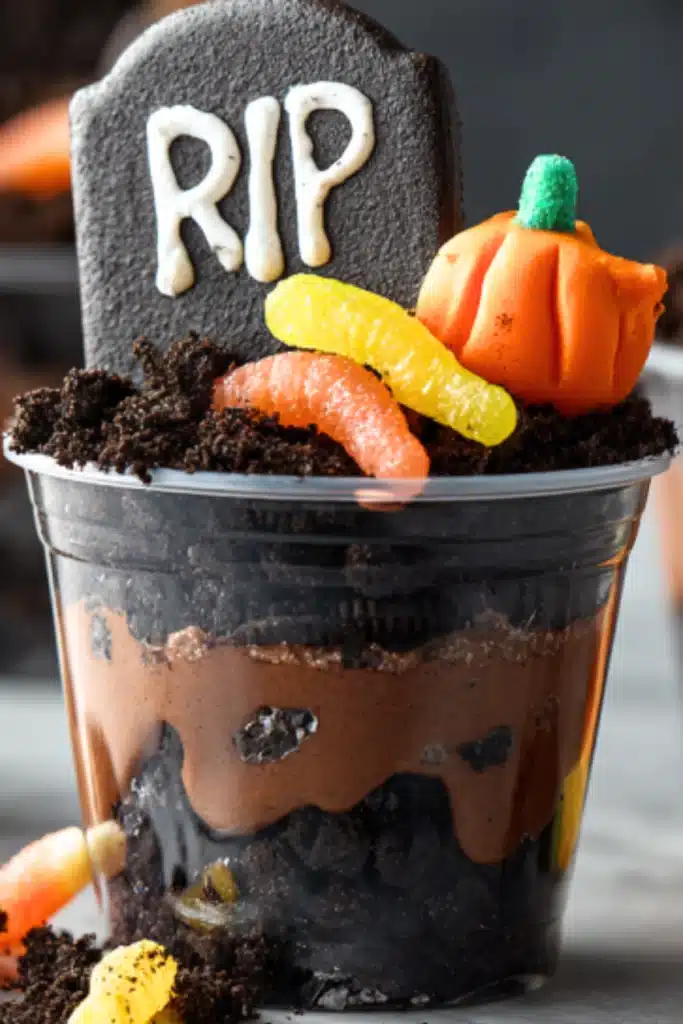
Repeat these layers until the cup is nearly full, finishing with cookie crumbs on top to resemble soil. For decorations, insert a Milano cookie into the cup, write “RIP” with black writing icing to create a tombstone, and scatter gummy worms and candy pumpkins around it. The result is a mini graveyard scene that is as tasty as it is festive.
Tips and Tricks for the Best Halloween Dirt Cups
How to crush cookies without a food processor
If you don’t own a food processor, there are still plenty of ways to crush cookies for the dirt cup layers. Place the cookies inside a sturdy zip-top bag, press out the excess air, and seal it tightly. Use a rolling pin, a meat mallet, or even the back of a wooden spoon to break the cookies into fine crumbs. If you prefer a chunkier texture, crush them lightly instead of fully grinding them down. This method works well for kids too, since they can help smash the cookies safely while having fun.
Make ahead tips for parties
Halloween dirt cups are perfect for parties because you can prepare most of the dessert in advance. The pudding mixture can be made the night before, and the cups can be assembled several hours before serving. For the best presentation, wait until right before serving to add toppings like gummy worms, candy pumpkins, or writing on Milano cookies.
This keeps the decorations looking fresh and prevents cookies from softening too quickly. Another smart tip is to store the cups covered with plastic wrap in the fridge to maintain flavor and texture for up to three days. If you are planning for a big event, making them ahead of time saves stress and ensures you have more time to enjoy the party itself.
Storage and Shelf Life of Halloween Dirt Cups
How long dirt cups last in the fridge
Halloween dirt cups store well in the refrigerator, which makes them convenient for busy families or party planners. Once assembled, they can be kept covered with plastic wrap for up to 3 days without losing their texture. However, if you want the presentation to stay at its best, it is a good idea to wait to add toppings like gummy worms or Milano cookie tombstones until just before serving. This way, the decorations remain fresh and vibrant instead of soft or soggy.
Best practices for keeping toppings fresh
To keep the toppings looking festive, store them separately in airtight containers until you are ready to serve the cups. Candy pumpkins and gummy worms can sometimes get sticky if left in the fridge too long, so placing them at the last minute helps maintain their chewy texture. If you are making dirt cups for a party, prepare the pudding and cookie layers ahead of time and refrigerate them, then decorate the tops right before the event. This small step ensures your dessert looks polished and appetizing, especially if you are serving them to guests.
Fun Serving Ideas for Halloween Dirt Cups
Creating graveyard scenes with Milano cookies
One of the most popular ways to decorate Halloween dirt cups is by transforming them into mini graveyards. To do this, use Milano cookies as edible tombstones. Write “RIP” or spooky messages with black writing icing, then gently press each cookie into the top of the cup so it stands upright. Surround the tombstone with gummy worms peeking out of the cookie crumbs and place candy pumpkins nearby to create the look of a tiny pumpkin patch. This simple touch instantly turns a basic dessert into a Halloween centerpiece that kids and adults will admire.
Serving in cups for kids versus large dessert pans
Halloween dirt cups are typically made in clear plastic cups, which is perfect for parties since everyone gets their own individual serving. The layers are easy to see through the cups, and they are simple for kids to hold without creating a mess. If you are serving a crowd or prefer a family-style option, try making a large batch in a glass baking dish instead.
Layer the pudding and cookie crumbs just as you would in the cups, then decorate the top with tombstones, candy, and sprinkles. This method creates a “dirt cake” version of the dessert and allows guests to scoop out their own portions. Both styles are fun, but choosing cups versus a pan depends on your occasion and how you want to serve the treat.
More No Bake Halloween Dessert Ideas
Halloween popcorn and witch hat cookies
If you love Halloween dirt cups, you will also enjoy other no bake desserts that are just as festive and easy. Halloween popcorn is always a hit, made by tossing popped corn with melted candy melts, festive sprinkles, and candy pieces. It is quick to prepare and makes a great snack for both kids and adults. Witch hat cookies are another no bake classic. Simply use fudge-striped cookies as the base, add a chocolate kiss in the center, and decorate with orange icing to look like a pointy witch’s hat. Both of these treats add variety to your Halloween table without adding stress in the kitchen.
Puppy chow and chocolate covered Oreos
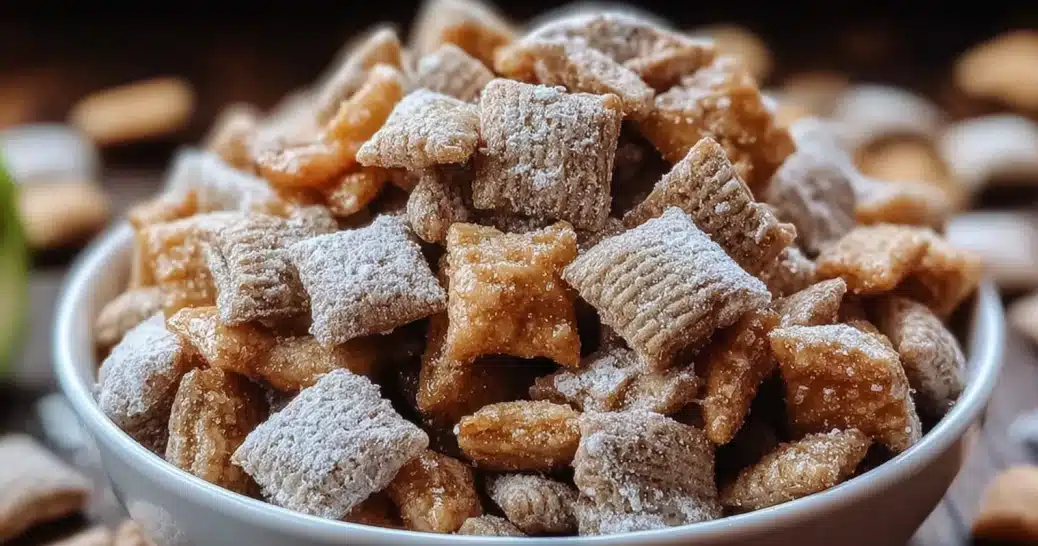
Another crowd-pleasing option is Halloween puppy chow, also known as muddy buddies. This treat combines Chex cereal with melted chocolate and peanut butter, then coats it with powdered sugar for a sweet and crunchy bite. Adding candy corn or colored sprinkles gives it a seasonal twist. Chocolate covered Oreos are equally fun and versatile. Dip Oreo cookies in melted chocolate, decorate them with candy eyes, drizzle them with orange or purple candy melts, and suddenly you have Halloween monsters, pumpkins, or mummies. These no bake recipes pair perfectly with Halloween dirt cups, creating a dessert spread that is spooky, playful, and effortless to make.
Conclusion
Halloween dirt cups are one of the easiest and most entertaining desserts you can make for spooky celebrations. With just a few simple ingredients like pudding, Cool Whip, and crushed cookies, you can whip up a dessert that looks festive, tastes delicious, and requires no baking.
Kids love digging into the layers of chocolate “dirt” and discovering gummy worms and candy pumpkins hiding inside. Parents love them because they are quick, affordable, and stress-free to prepare ahead of time. Whether you serve them individually in clear cups or as a larger dirt cake, these no bake Halloween treats are guaranteed to be the highlight of your party. Try them this season and enjoy a dessert that is spooky, fun, and completely kid approved.
FAQ About Halloween Dirt Cups
Can you make Halloween dirt cups the night before?
Yes, you can prepare the pudding and cookie layers the night before and store them covered in the fridge. For the best presentation, wait to add decorations like gummy worms and cookie tombstones until just before serving.
Can you freeze Halloween dirt pudding cups?
Freezing is not recommended, since the pudding and whipped topping may separate once thawed. The texture is best enjoyed fresh or after being chilled in the refrigerator.
What can I use instead of Oreos for dirt cups?
Any chocolate sandwich cookies will work in place of Oreos. You can also use graham crackers, chocolate wafer cookies, or even brownie crumbs if you want a richer base.
How far in advance can I prepare dirt cups?
You can assemble dirt cups up to 2 days in advance. Keep them refrigerated and covered tightly with plastic wrap. Add candy and decorative toppings shortly before serving to keep them looking their best.
Can I make Halloween dirt cups without Cool Whip?
Yes, you can substitute Cool Whip with homemade whipped cream. Just beat heavy cream with sugar until stiff peaks form, then fold it into the pudding mixture for a similar texture.
What are fun toppings for spooky dirt cups?
Some creative ideas include candy eyeballs, candy corn, chocolate bats, edible bones, or Halloween-themed sprinkles. Mixing and matching toppings lets you design unique spooky graveyard scenes.
